Getting Started with Connect
Here's how to make your first Authipay Connect transaction in the Developer Playground.
1. Create Your Playground Account
First, you’ll need an account on the Authipay testing environment. It takes seconds.
Create your Developer Playground2. Open the Connect Simulator
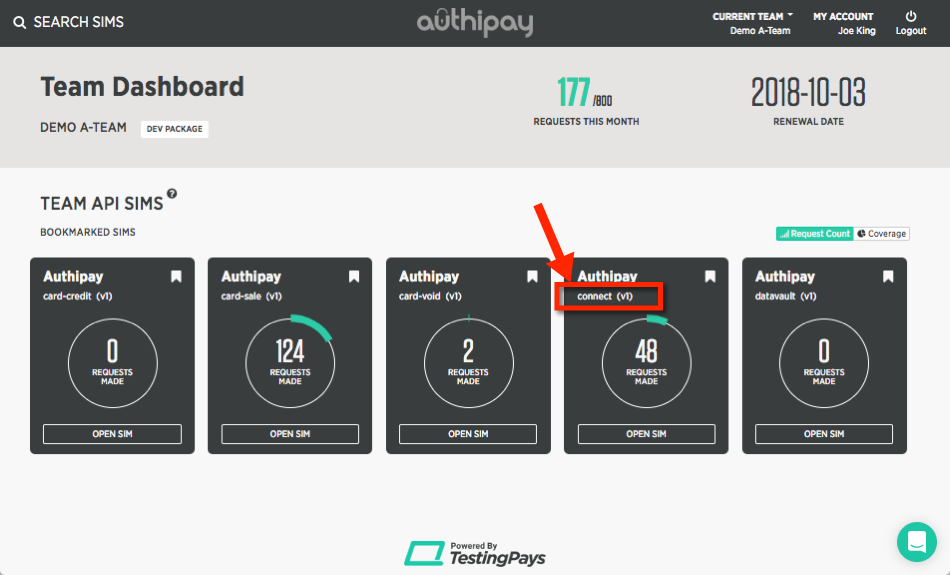
Once you’ve signed in to the testing environment, you’ll see your team Dashboard with bookmarks for all Authipay API simulators. Find the bookmark named “connect (v1)”, as highlighted below. Click the OPEN SIM button.
3. Making your first Connect request
Go to the “Integrate” tab on the Connect simulator. This contains instructions and tips to get going in various coding languages. Select the coding language of your choice and follow the instructions.
The first option you'll see on the "Integrate" tab is a cURL request - this is the quickest way to see a Connect transaction in action. Copy the cURL command and paste into your local command/terminal window, and hit return. The response from the simulator will contain a "Location" parameter containing a URL. This would be the URL that your customer would be automatically redirected to - copy & paste this URL into a browser to see the hosted payment form.
4. Calculate the hash correctly
All Connect requests must include a unique signature - a hash. Miscalculation of the hash signature is the biggest cause of integration delays. Here's how to get it right.
Your code will need to concatenate the values of the following parameters in this order:
- storename
- txndatetime
- txndatetime
- chargetotal
- currency
- sharedsecret*
* For test transactions to the simulator set the sharedsecret parameter to the value "dummy_secret". We recommend you store this as an environment variable or configuration value for your test environments.
Take the concatenated string and convert each character to it’s hexadecimal equivalent. Finally, apply SHA-256 to that hex string to generate the hash value. Assign this value to the hash parameter in the Connect request.
Our Tip: use the Simulator to get the hash right
When the Connect simulator detects a miscalculated hash value, it will return a verbose error with instructions on what went wrong with the hash and what it was expecting. Use the simulator to send as many test requests as you need until you you get this calculation right - the simulator will tell you what’s missing until your hash is correct.